
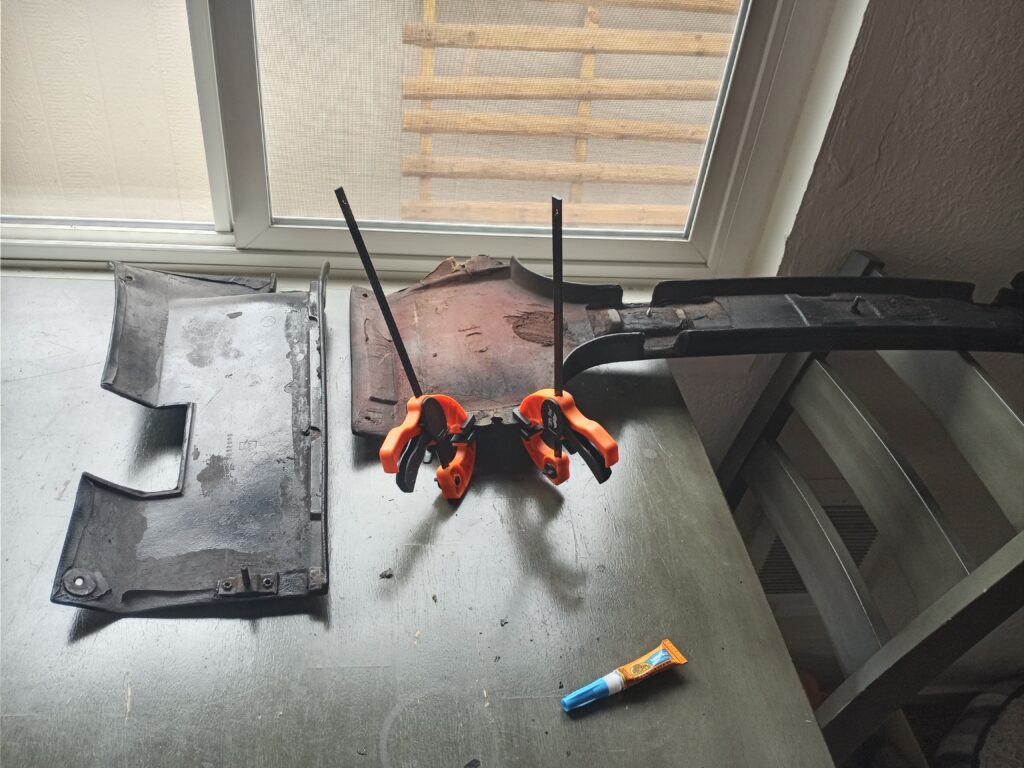
I took out the dash. That was six individual components. The first piece I looked at was broken bad. The decision was $500 or try to fix it. Inspection of the others showed they all needed extensive work. That $500 estimate turned into $3000 immediately. I couldn’t stomach that so I bought some epoxy weld, a plastic welder, and some sanding disks and got to work. Add $100 to the ledger.


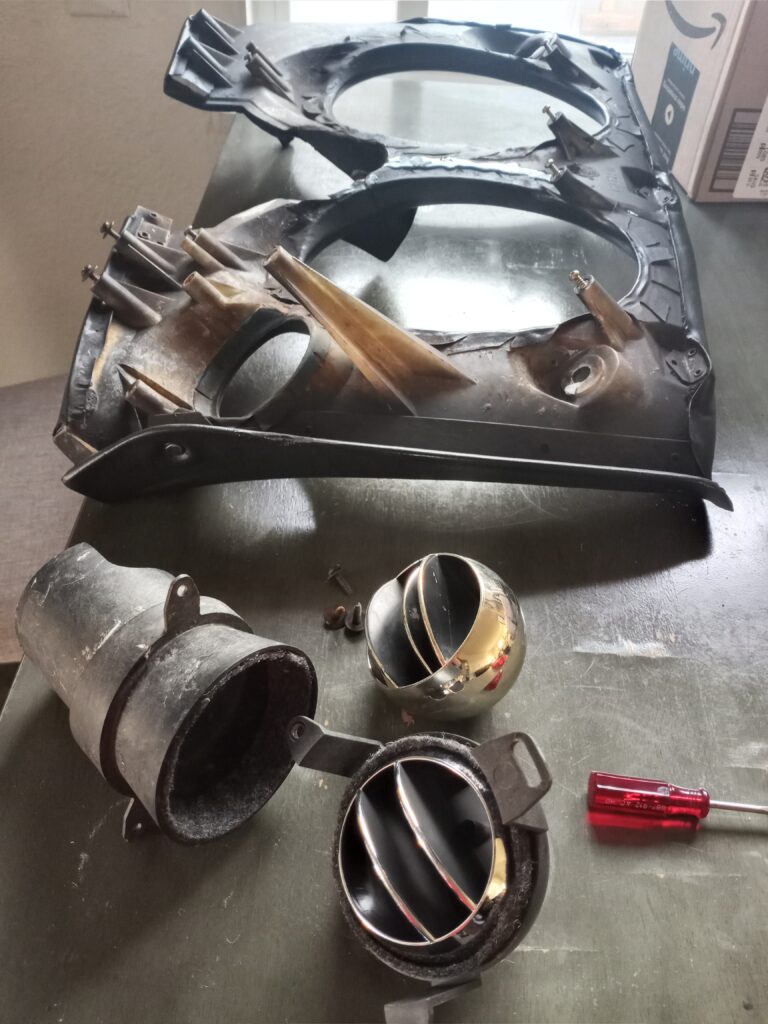
Oh no. Look at those beat up heater parts. All need to be replaced. Great. Another $80.

I had to reinforce the center portion of the drivers dash pad. This portion was destroyed. It took awhile to form the plastic mold properly. Once this dries I’ll sand it and tap a screw hole. That’s what she said.
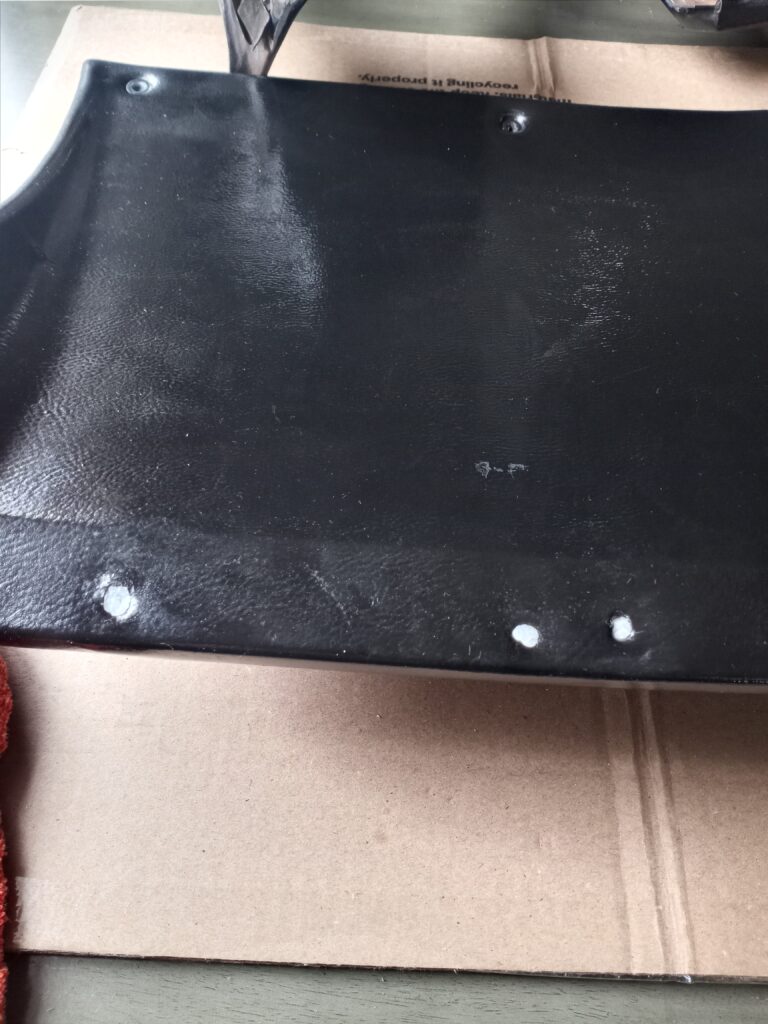
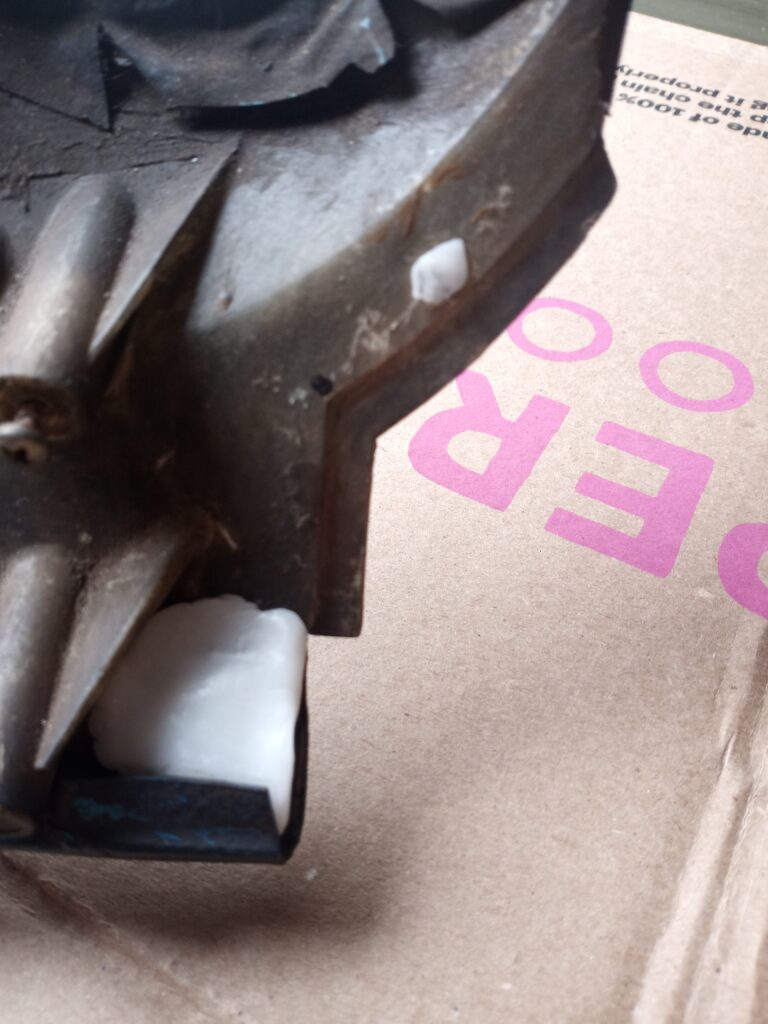


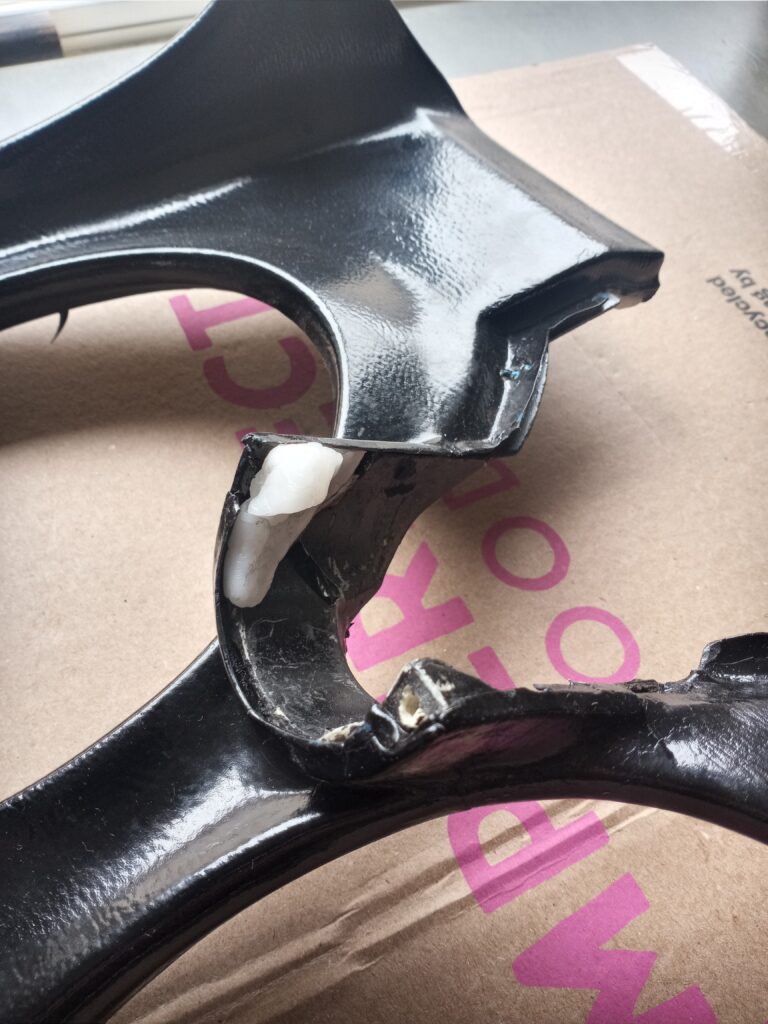
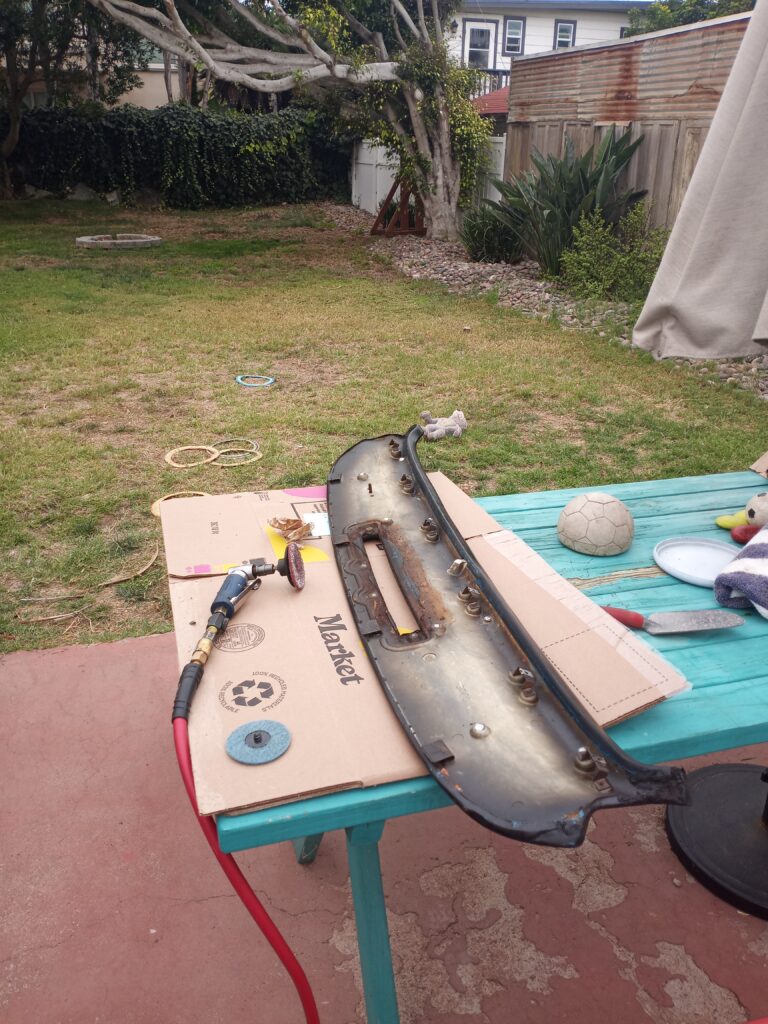
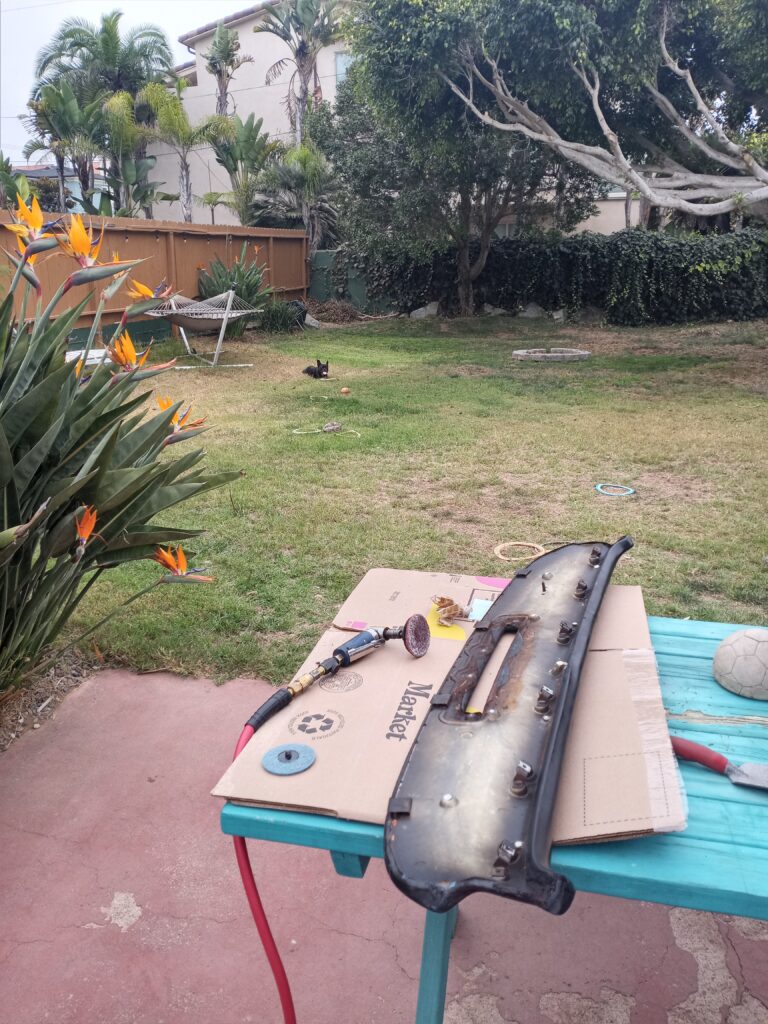
The pictures above are of the rear interior quarter panels. This is the part behind your head. These took a lot of work. Notice the bigger white clumps, those were required to mount the panel properly. Lot harder than it looks.
Part on the left is the center T-Top portion. Part on the left is the rear center panel. Both needed light touchups.

The life cycle of each component. Step one is to fill in the holes with plastic molding and let harden for 72 hours. Step two is sanding and step three is paint.

Everything sanded and painted and looking good. Back to the storage room/office/gym/spare bedroom. All told, about twenty hours of labor and $60 in paint. Better than $3000, and that doesn’t include the paint!