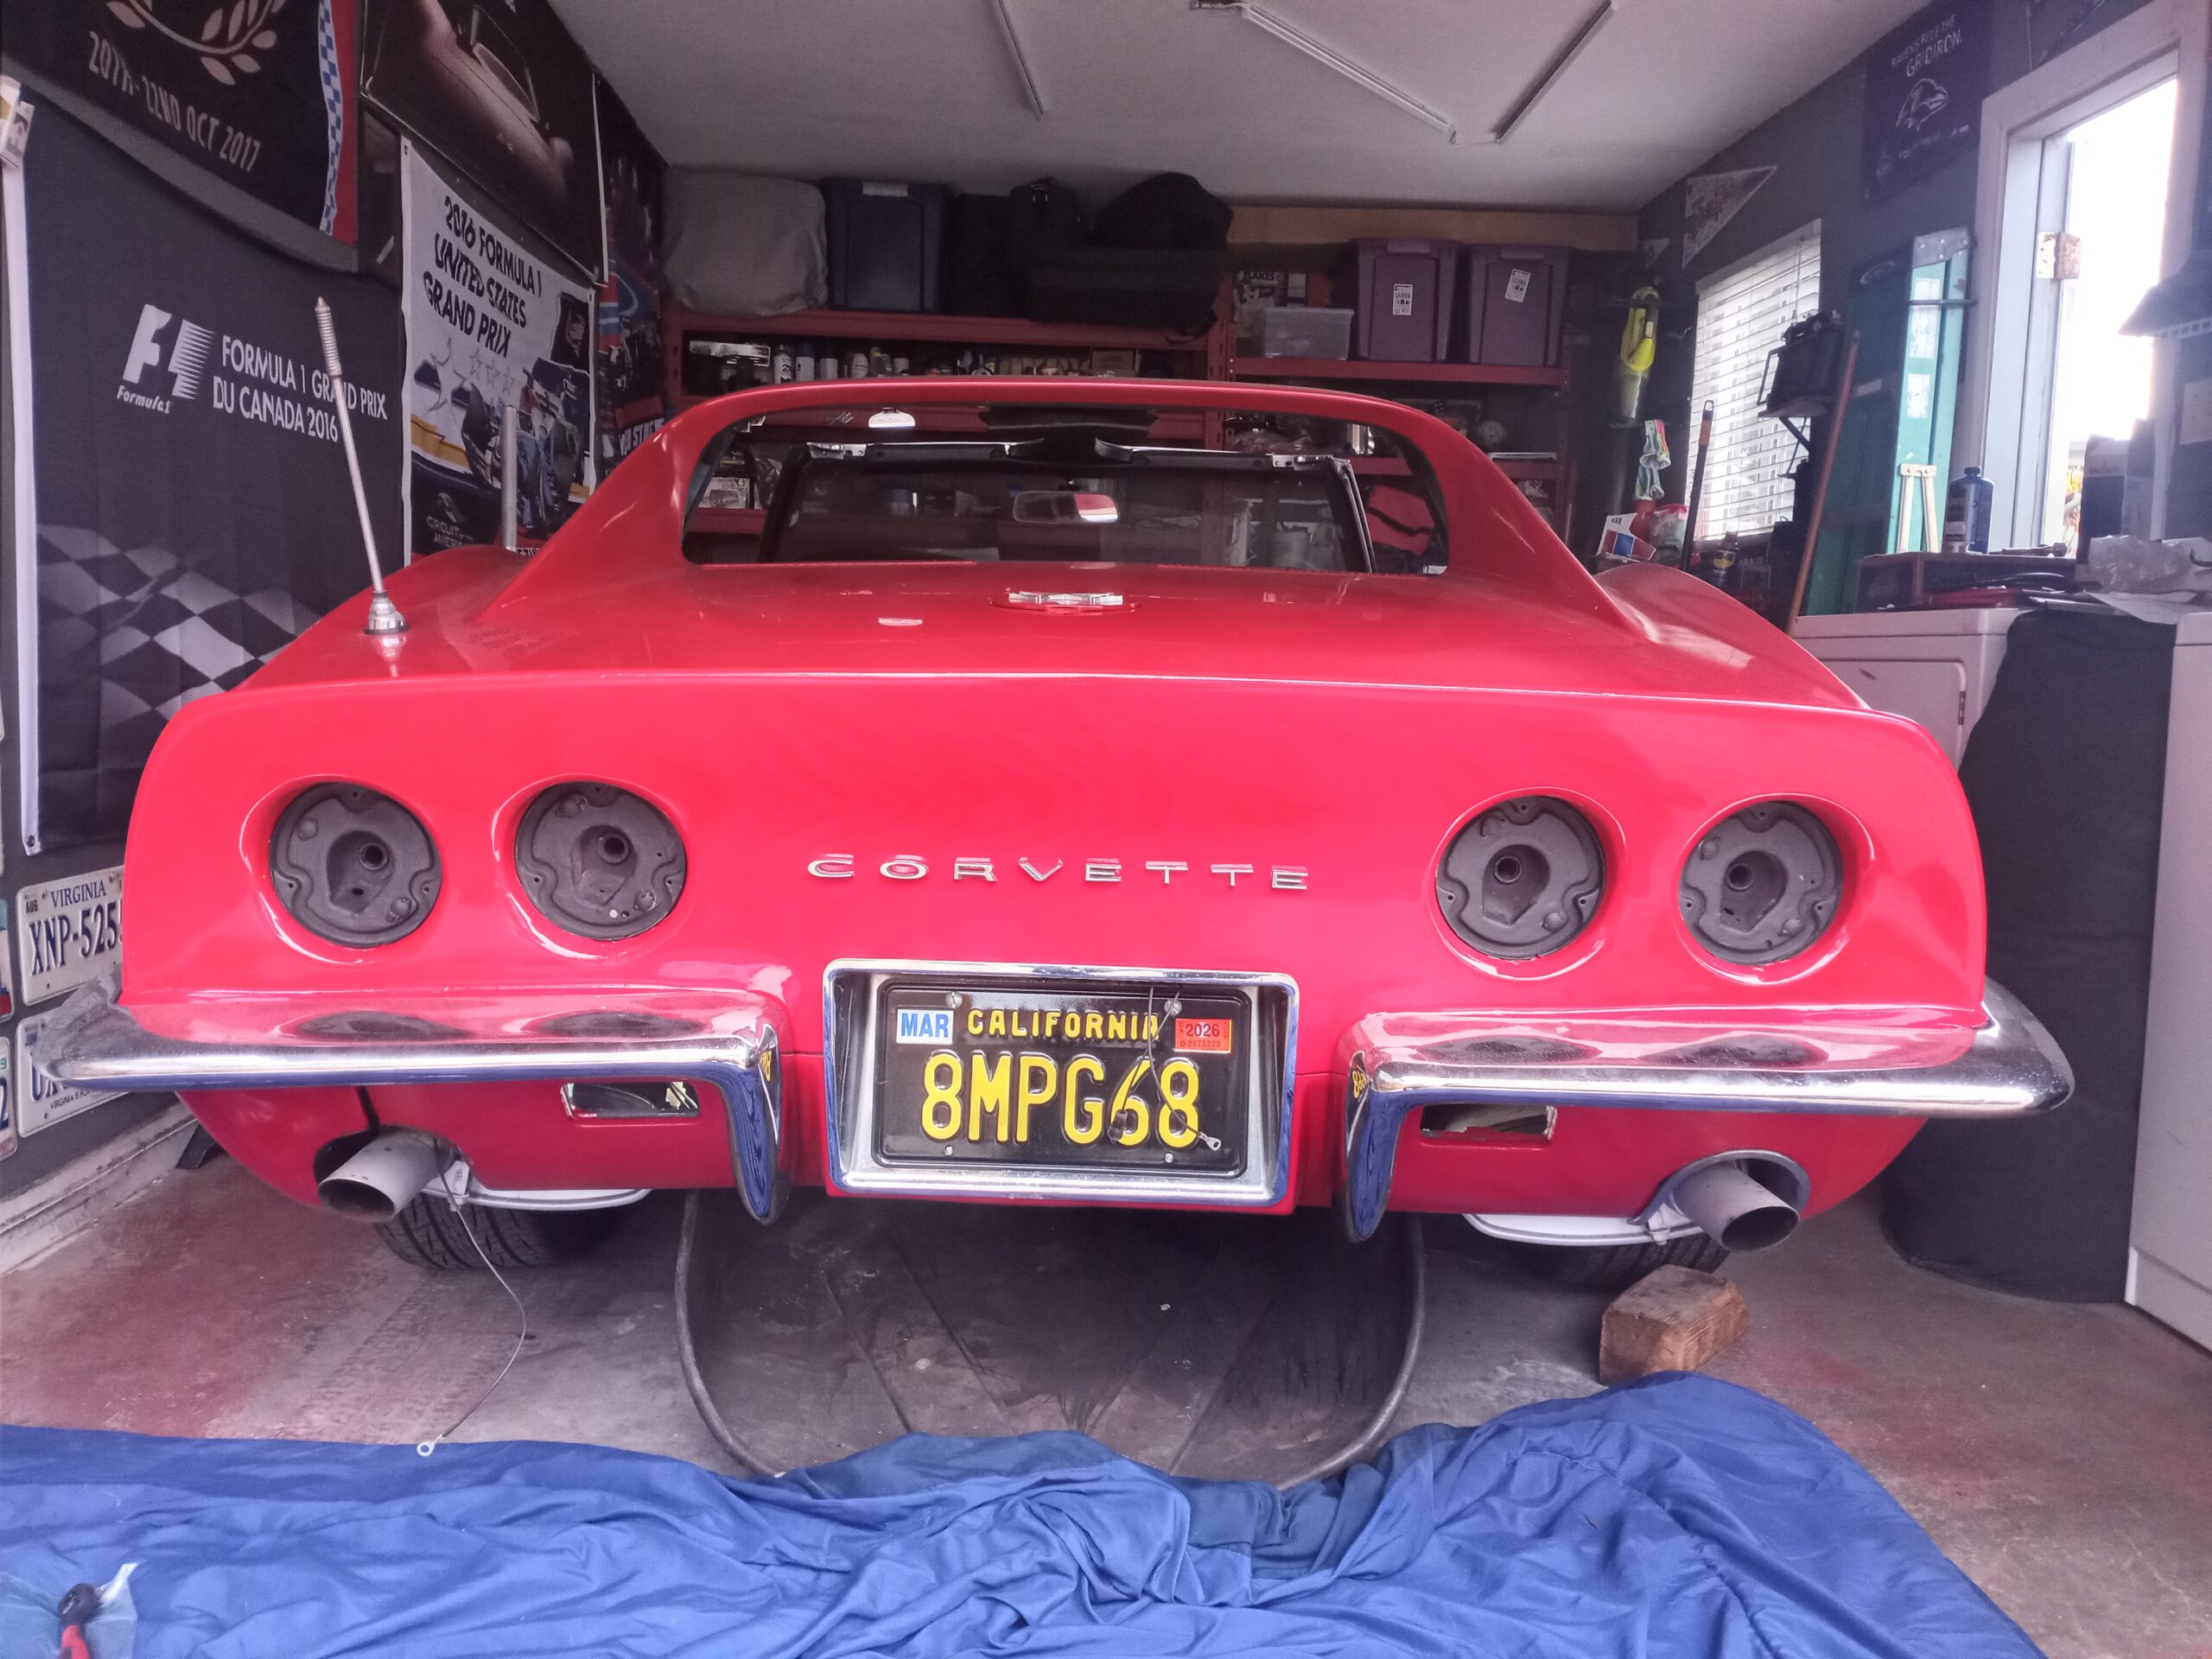
The 68 Vette was designed with the battery behind the driver’s seat. The purpose of this is weight distribution for road racing. They came with side-post mounting batteries, which is a pain in the ass in that tiny cramped quarter. I want to have a battery cutoff switch as well, for safety and security. So the plan is to remove the old cables and build new ones that will account for a top post battery and cutoff switch.
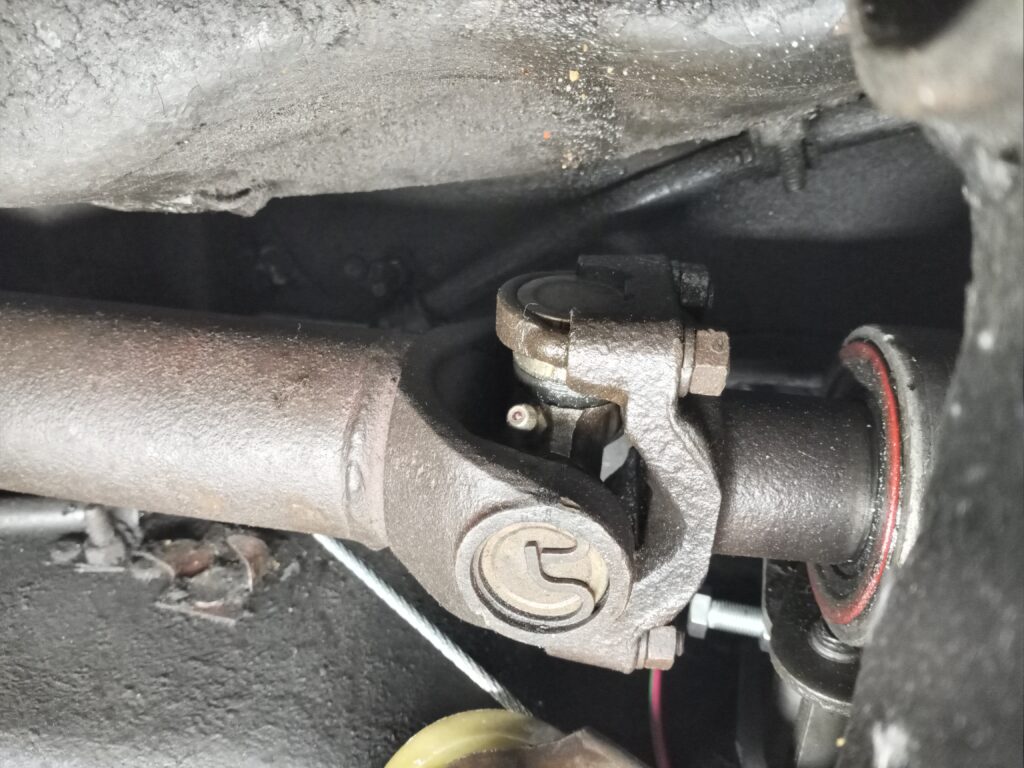
New cables cost $185 at the Corvette store but that’s a ripoff so I made my own. It cost about $95. Half of that was for the “torch.” As usual, I thought it wouldn’t take long but it did. Making the cables was no biggie. Removal and installation was dirty and my hands were cut up pretty bad. I could have dropped the driveshaft and saved a lot of time and pain but no can do. The 68 has a fixed crossmember which makes it tough without a lift. The positive cable was going to be work so I started with that.

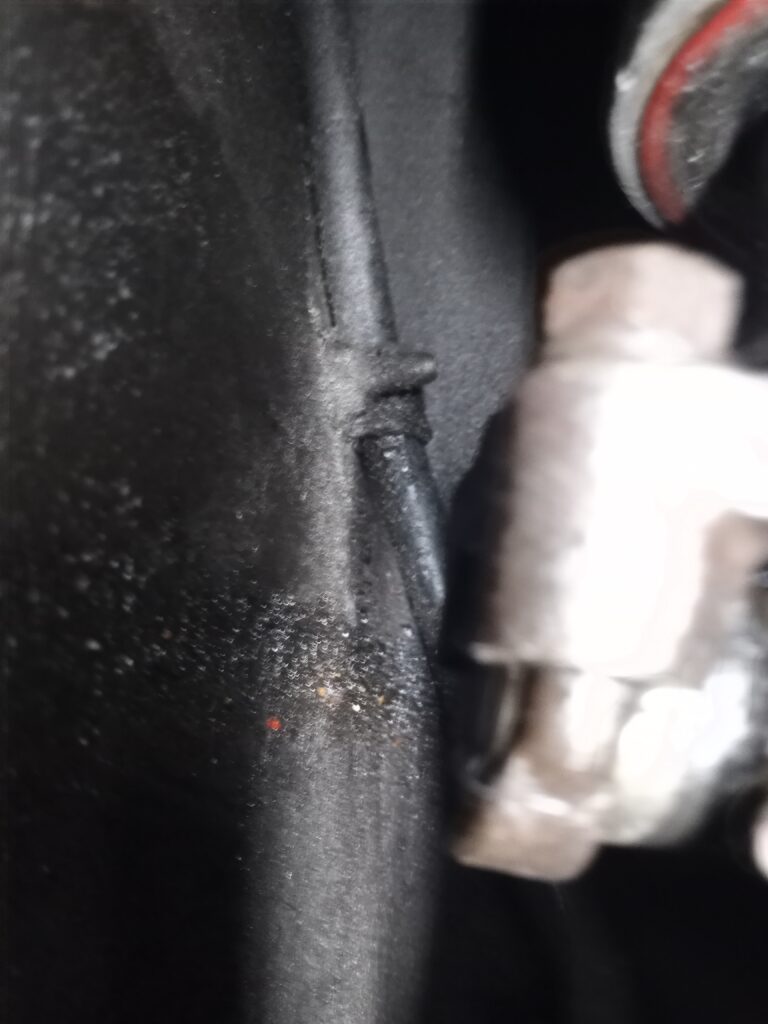
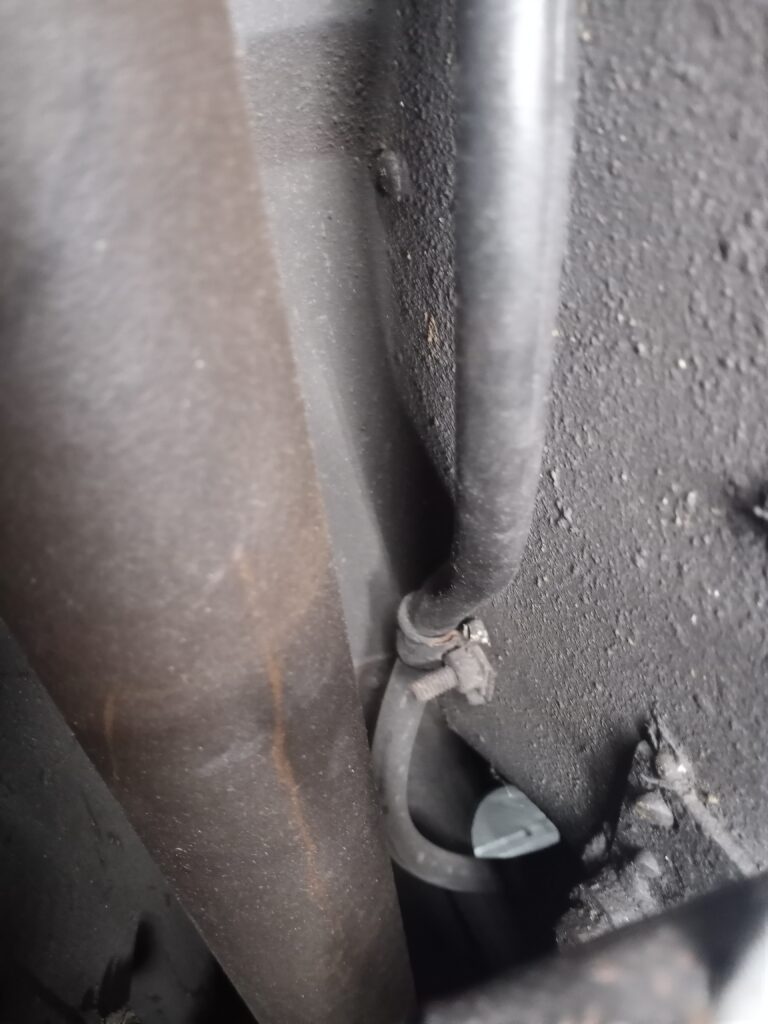
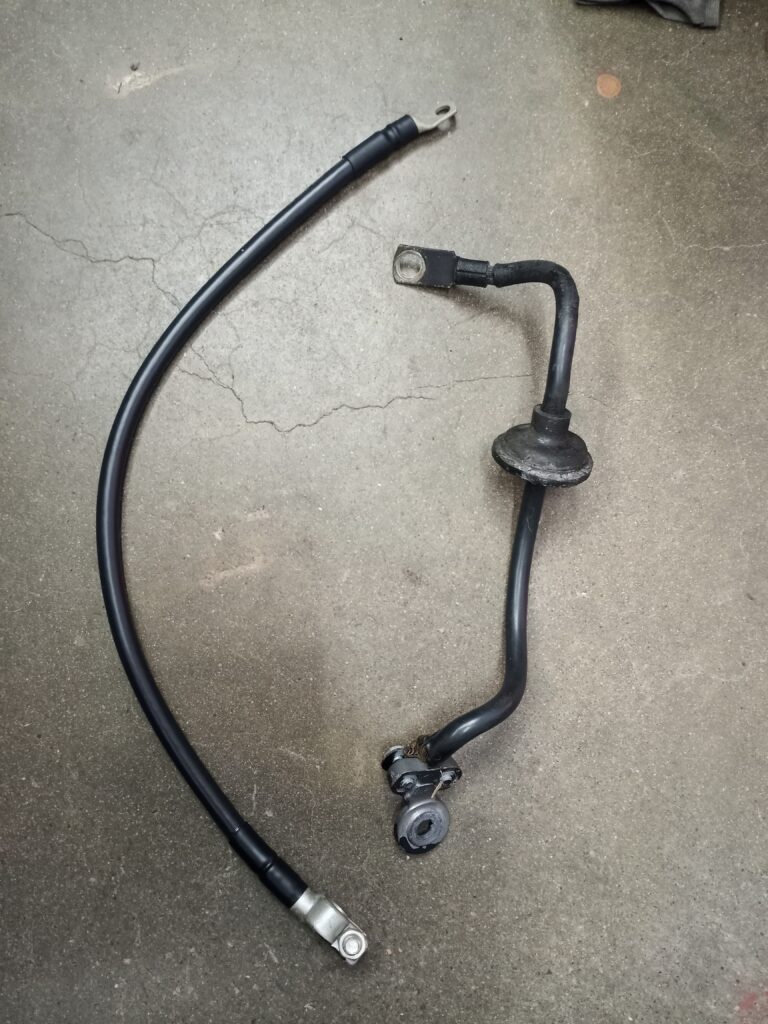
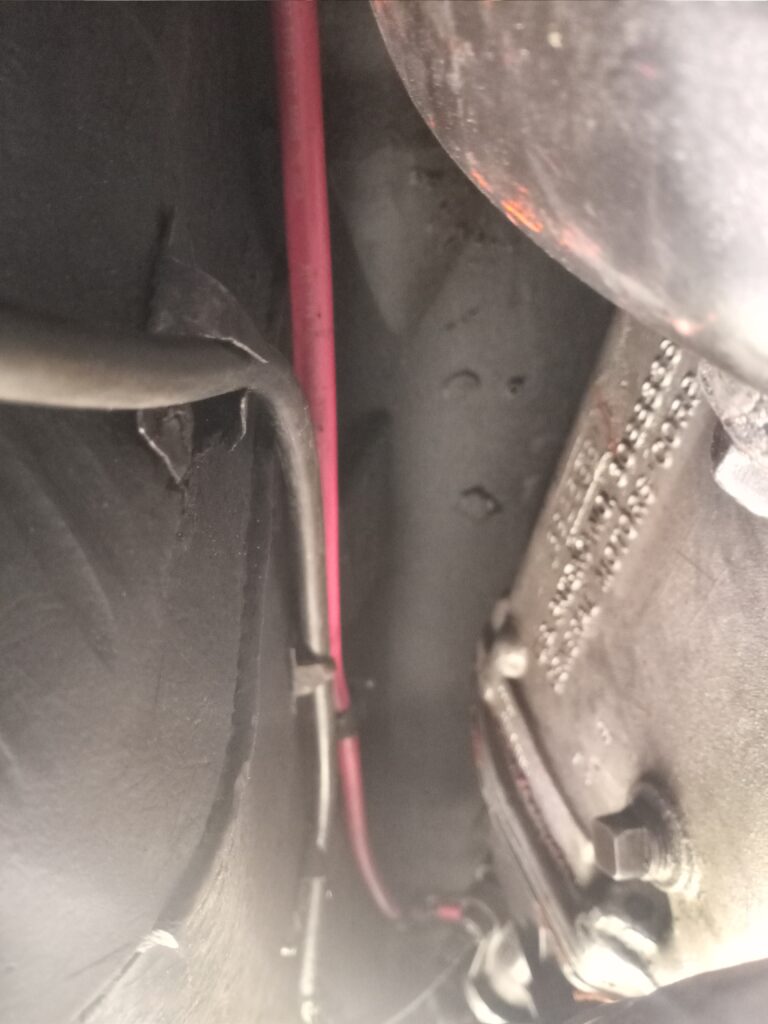
Getting up there to clean with the driveshaft in was pointless. This stuff needs to be scraped out with a blade. So I pressed on. There’s three components. You have posts, brackets, and clips. Posts are threaded so you can tighten the bolt onto them. The brackets are fixed onto the cable, then go over the post, then you put a nut on the post and tighten. The last and most painful are the clips. They’re metal formed into the body, you put the cable into the metal and bend the metal, which hugs the cable to the body. This is where all the cuts came from.
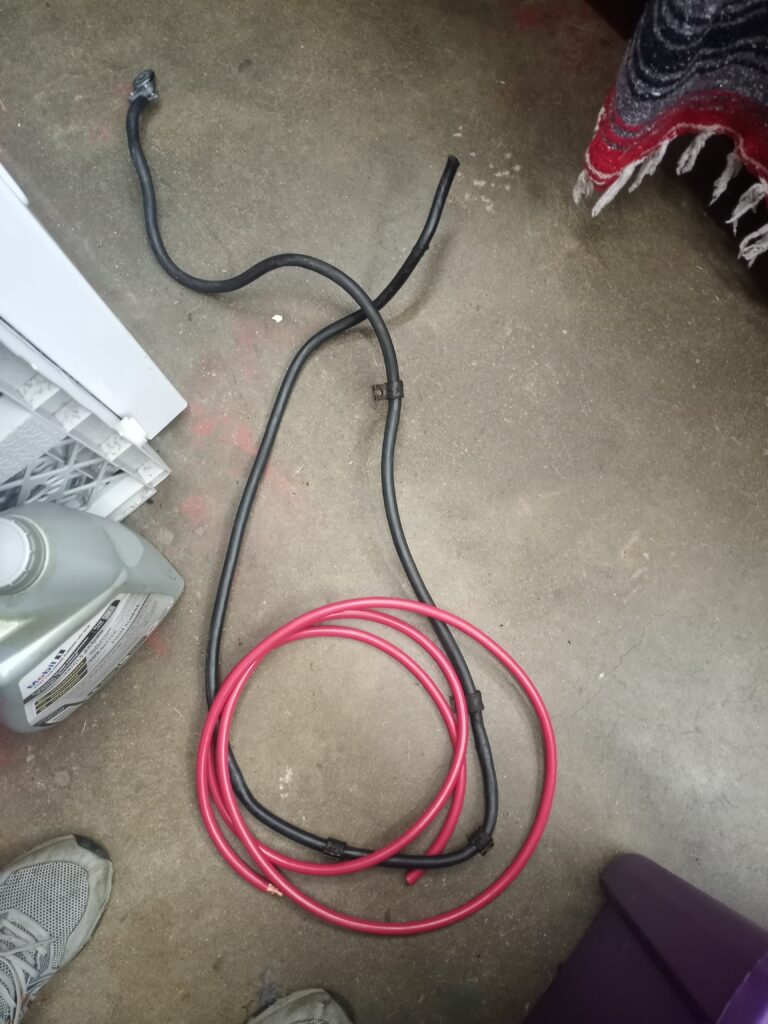
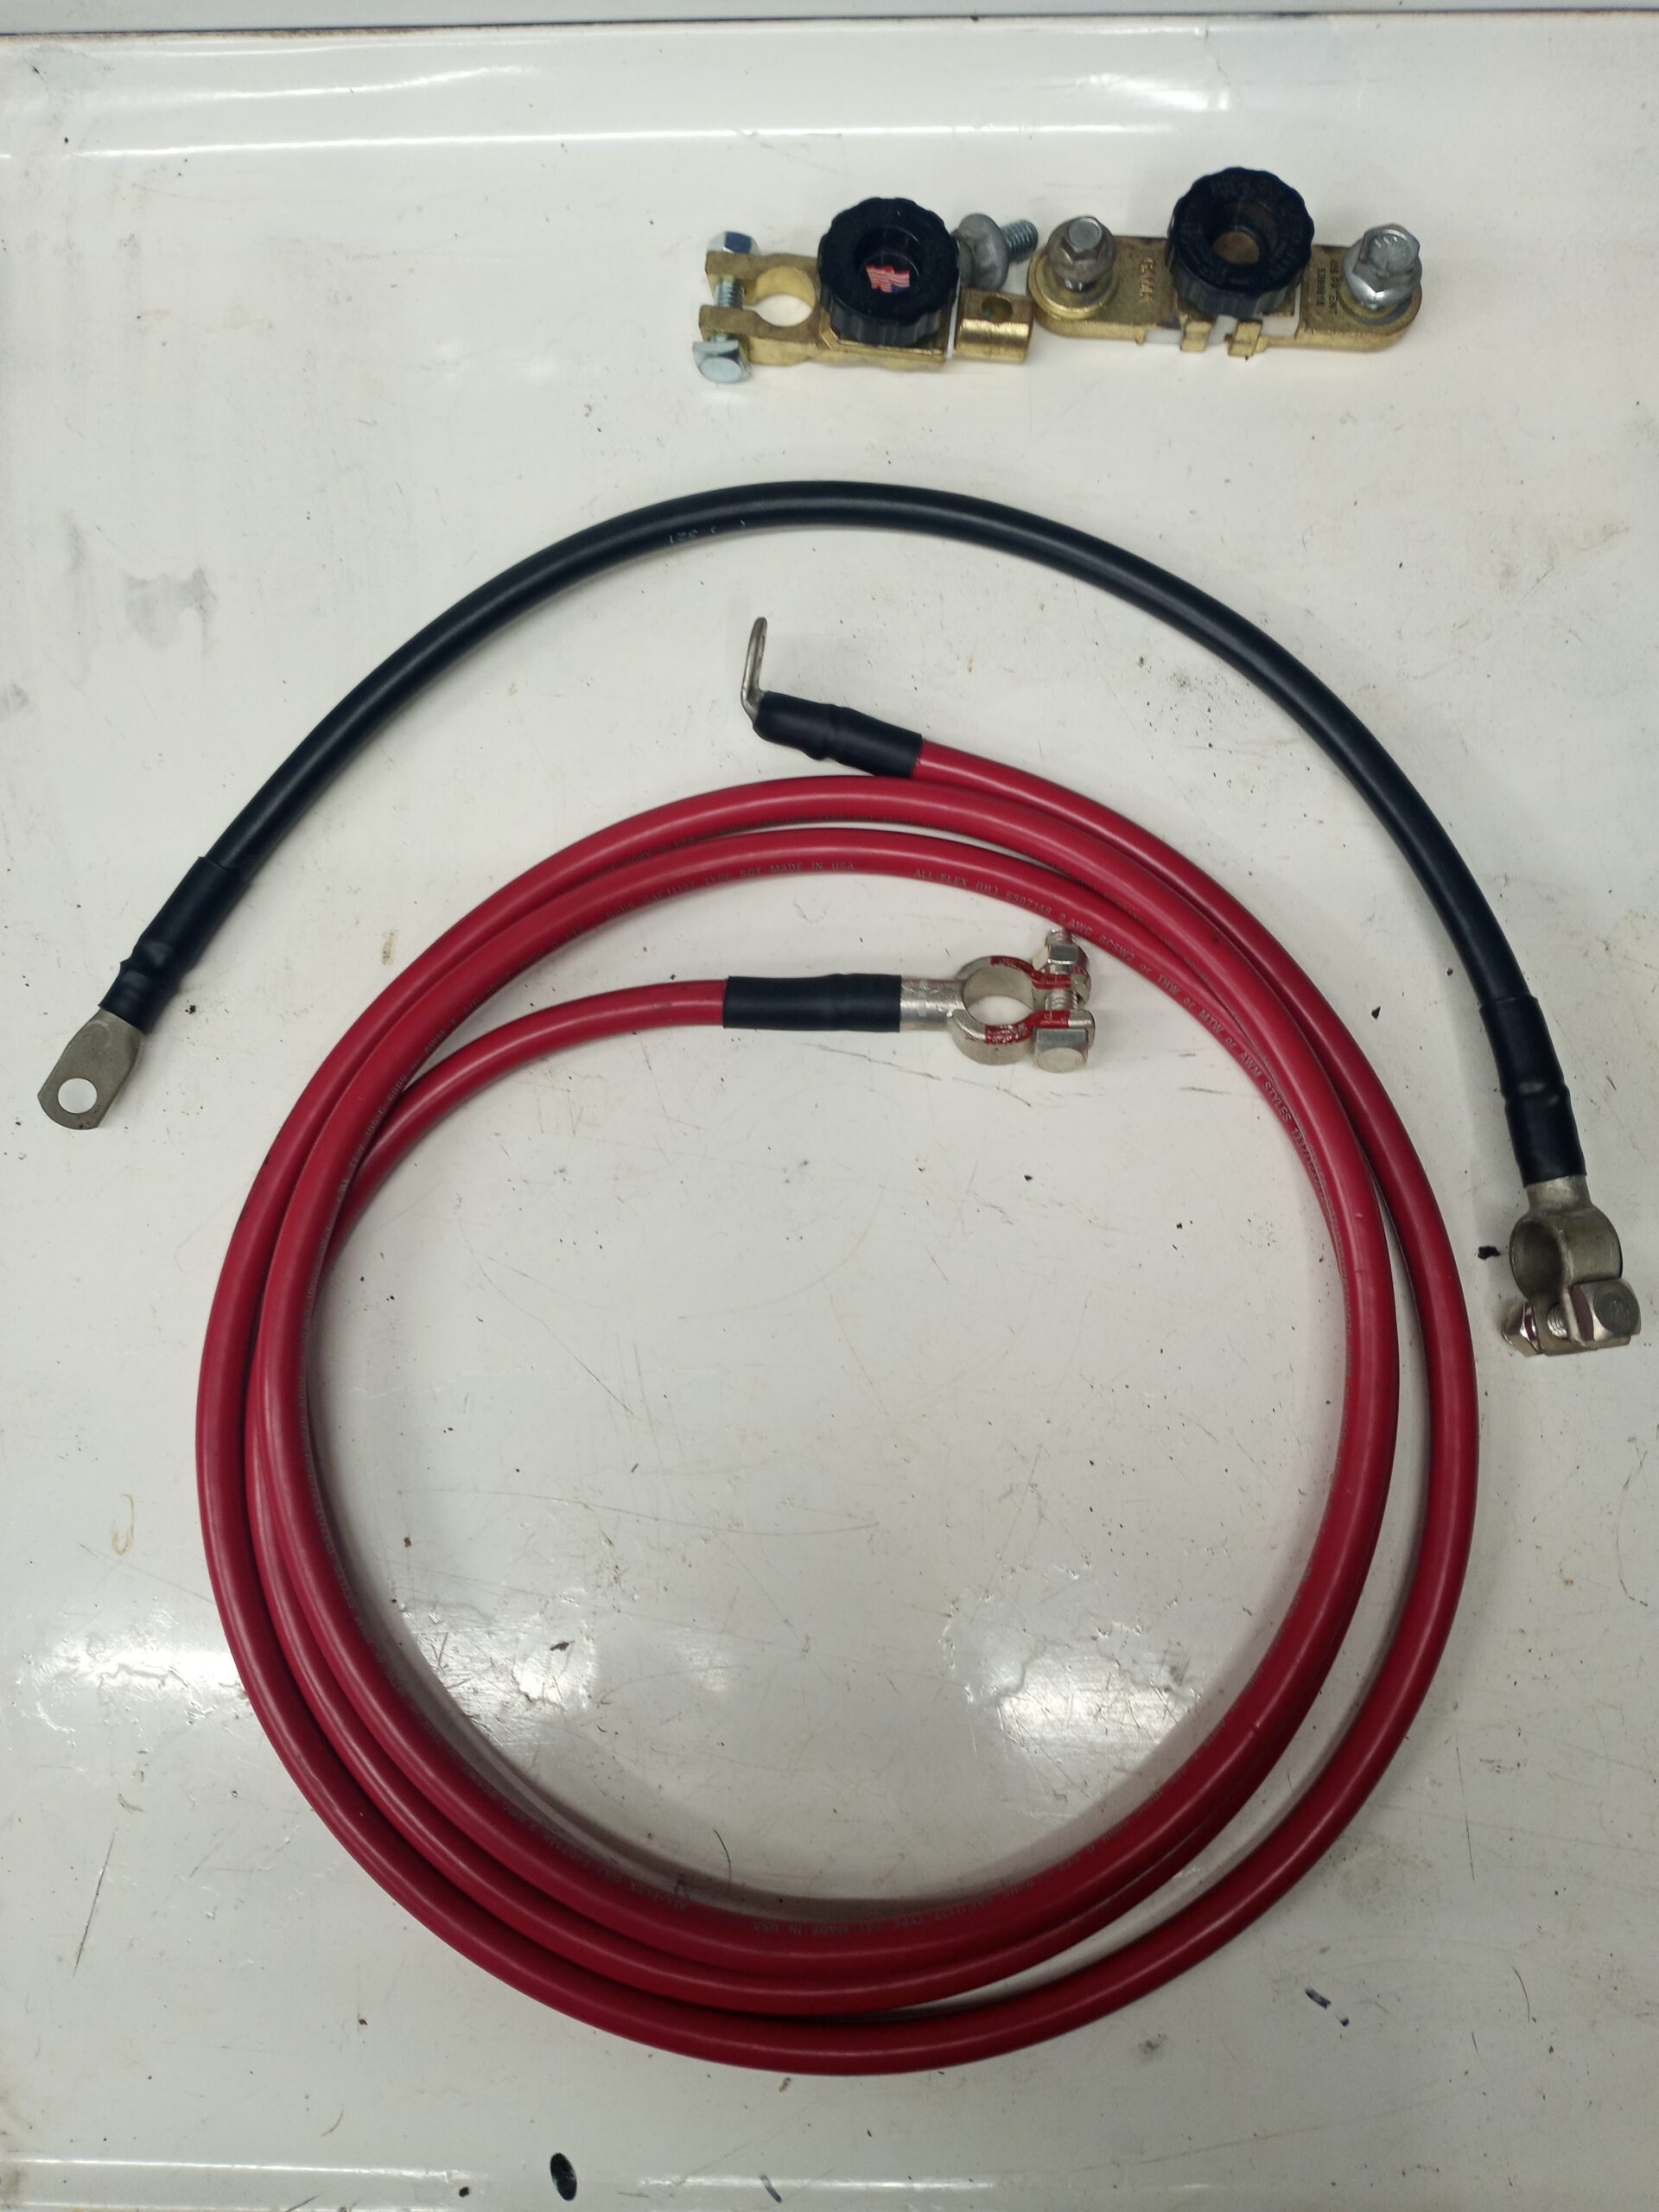
The black cable is the old one. Hard as a rock due to years of heating and cooling.
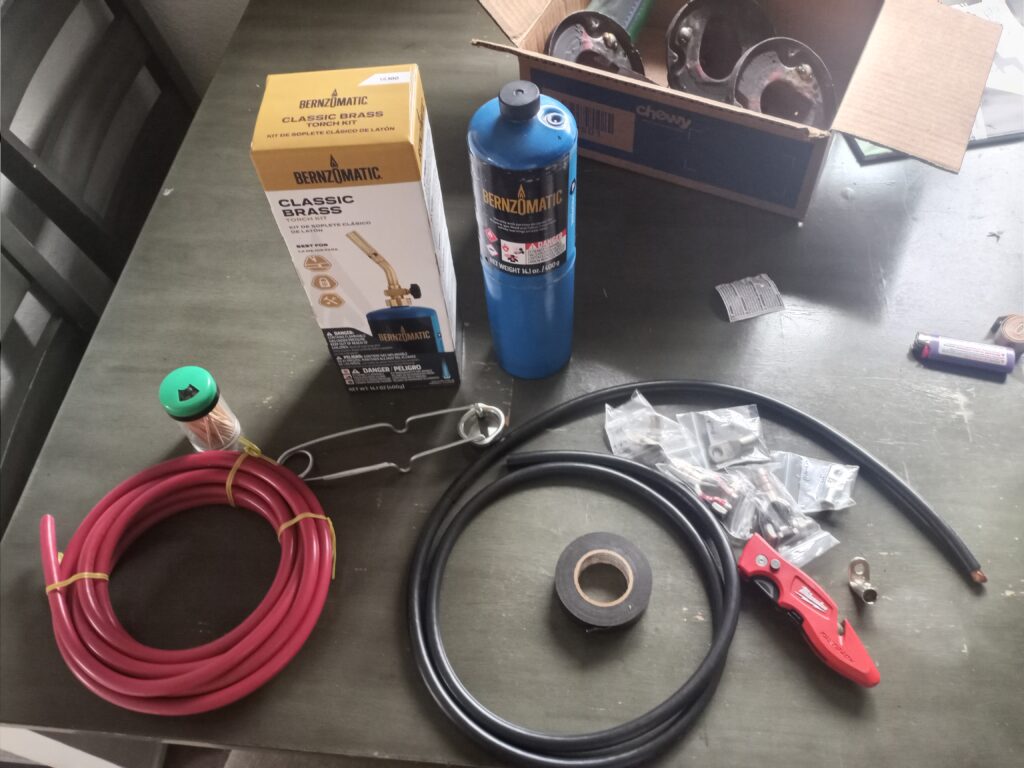

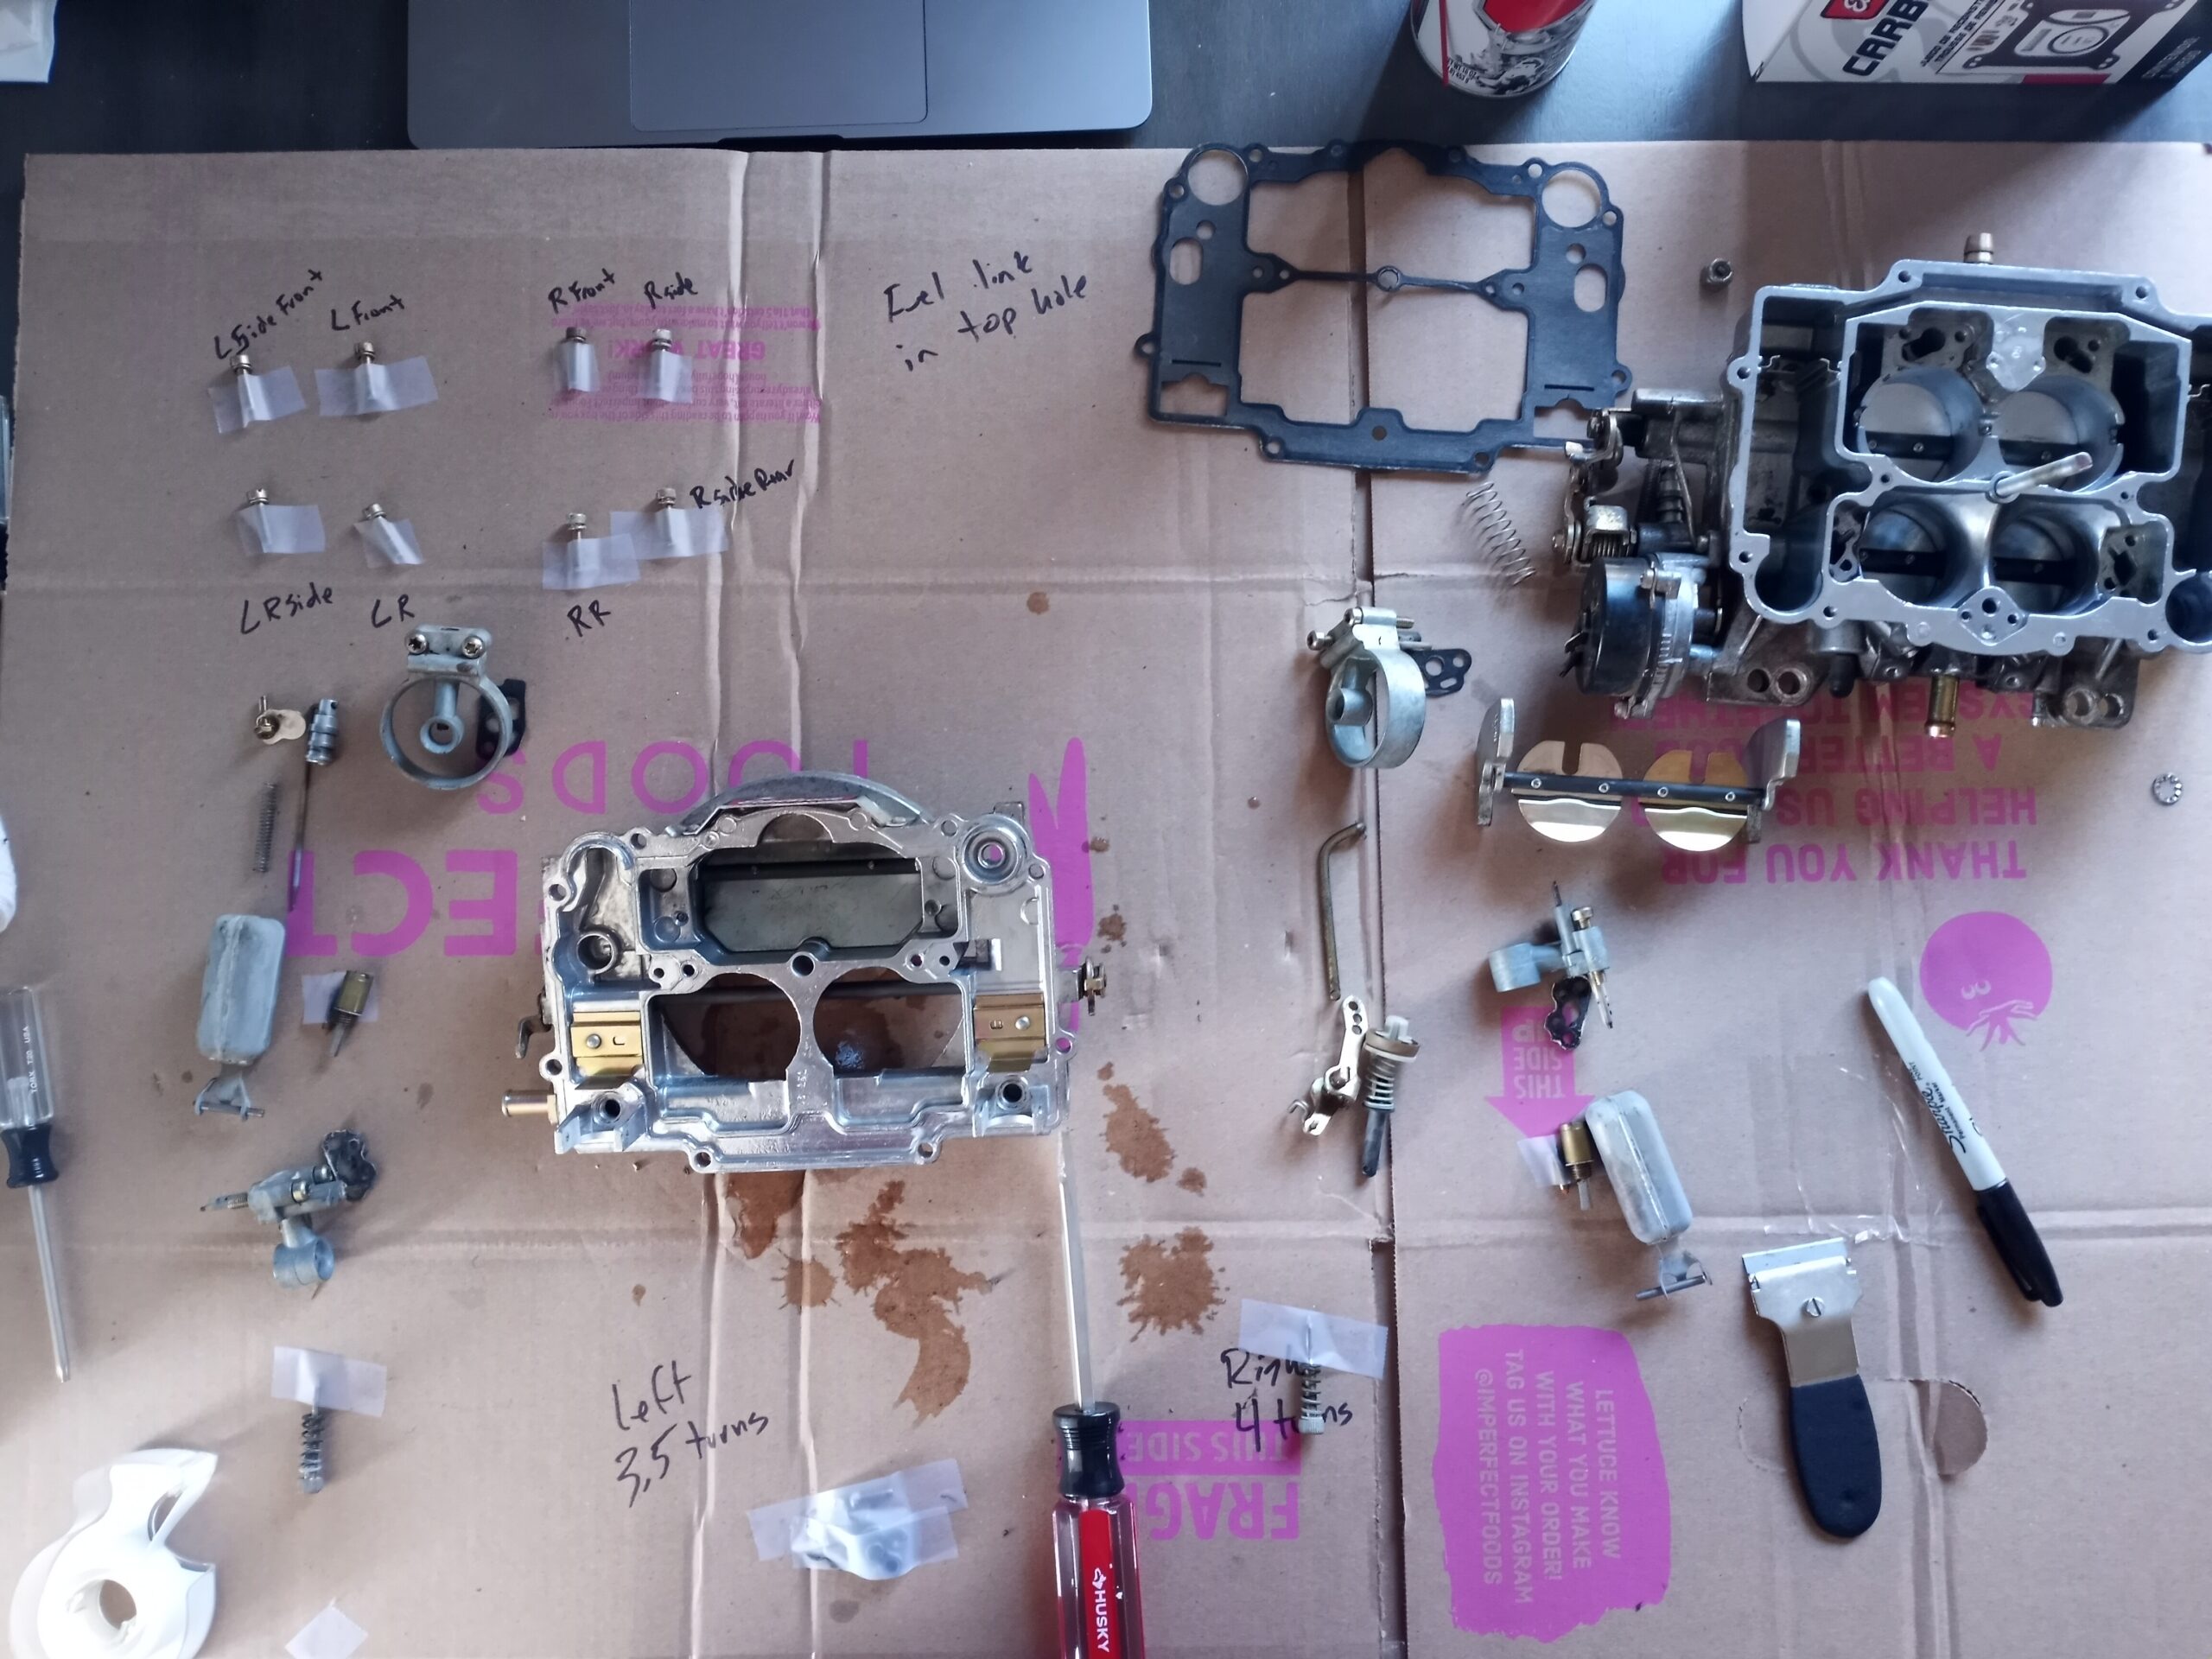
Let’s get started. As usual my workbench was the clothes dryer. I made a vice for the torch out of a cardboard box. I used needle nose vice grips to hold the battery terminal over the burning torch as I fed the solder in. I got the good solder so it went smooth. I wrapped the cable with a wet paper towel so the rubber wouldn’t burn. That was a good and bad idea. The rubber didn’t burn, did you know that water conducts heat? I then jammed the cable end into the terminal with the liquified solder and twisted until the solder came out. Rinse and repeat with the other terminals.
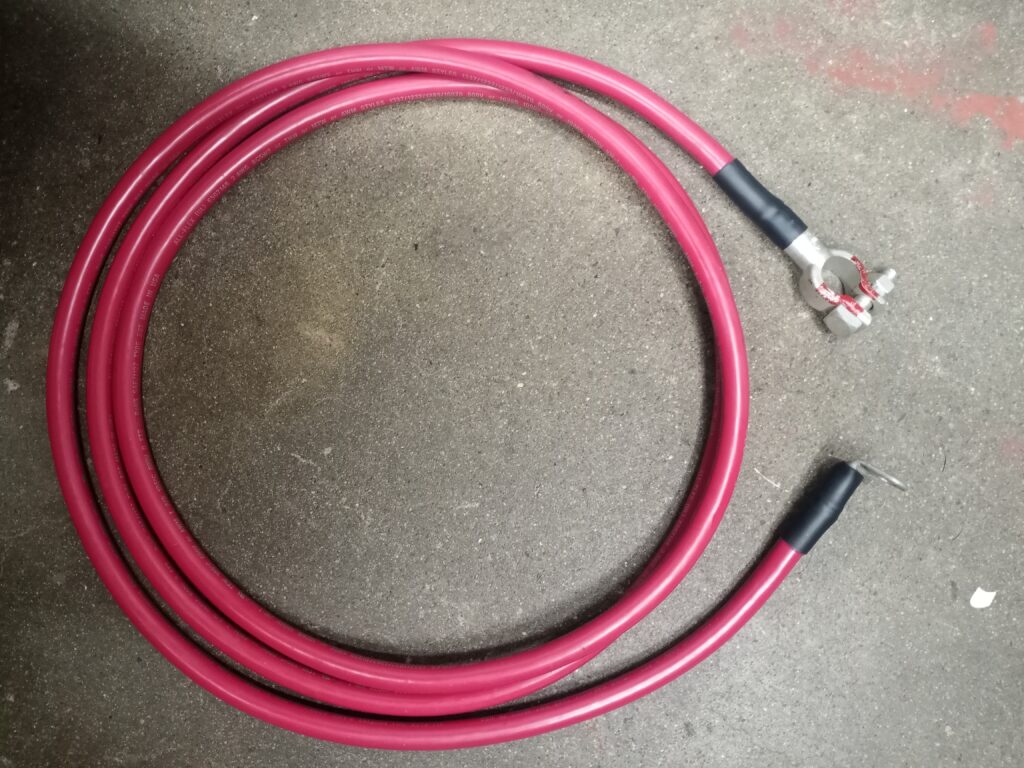

I had to remember to put the heat shrink tubing on. I only forgot twice. But there you have it. Battery cables. Good looking ones at that. I wonder if they’re way too long.
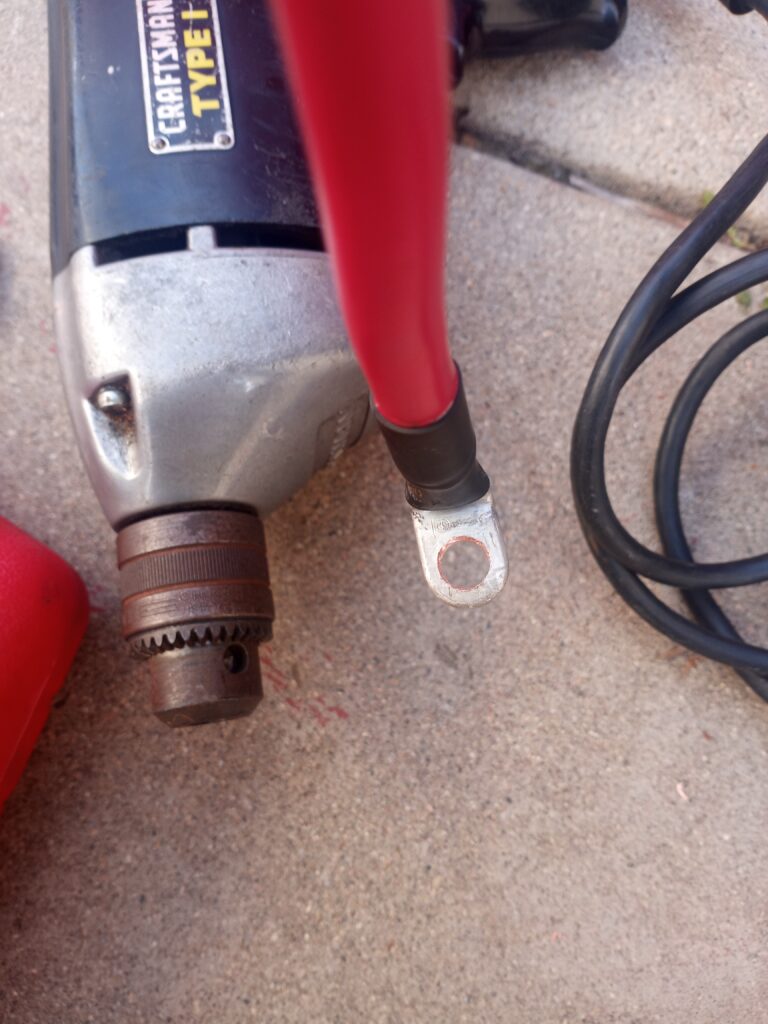
Thankfully I thought ahead on the installation and started with the starter. Ha. The mounting terminal for the starter post was too small. I had to drill it out. The battery powered drill wasn’t strong enough, thankfully I’ve been carrying around this monster cabled drill for the past 30 years. Both positive and negative need this.
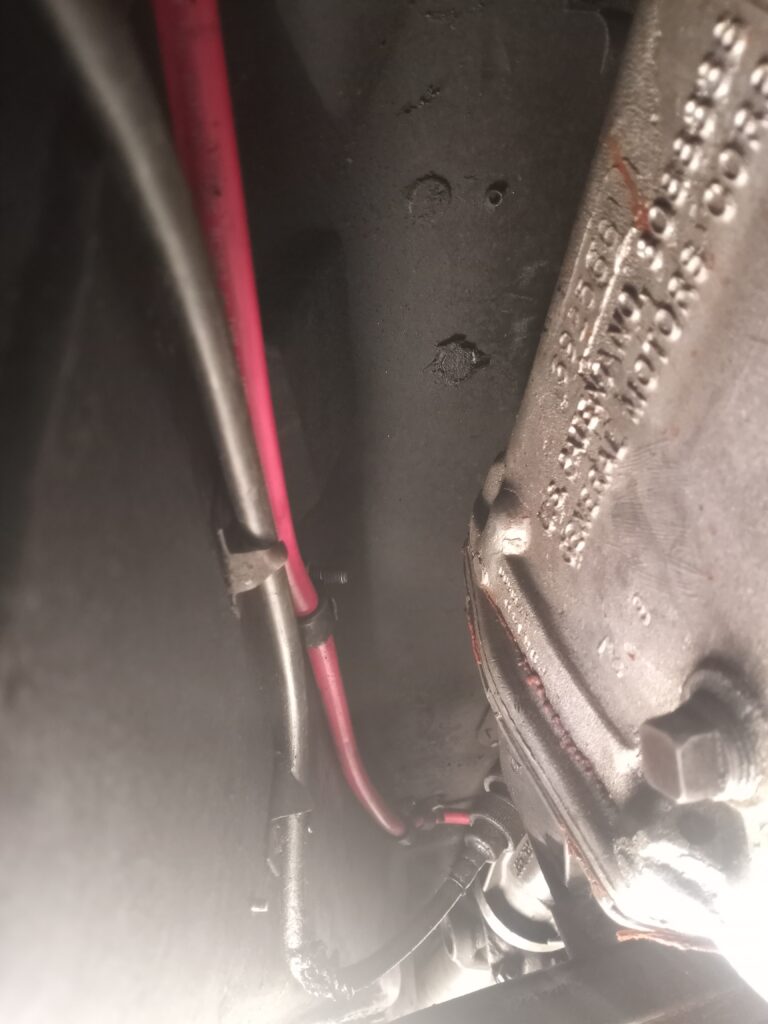
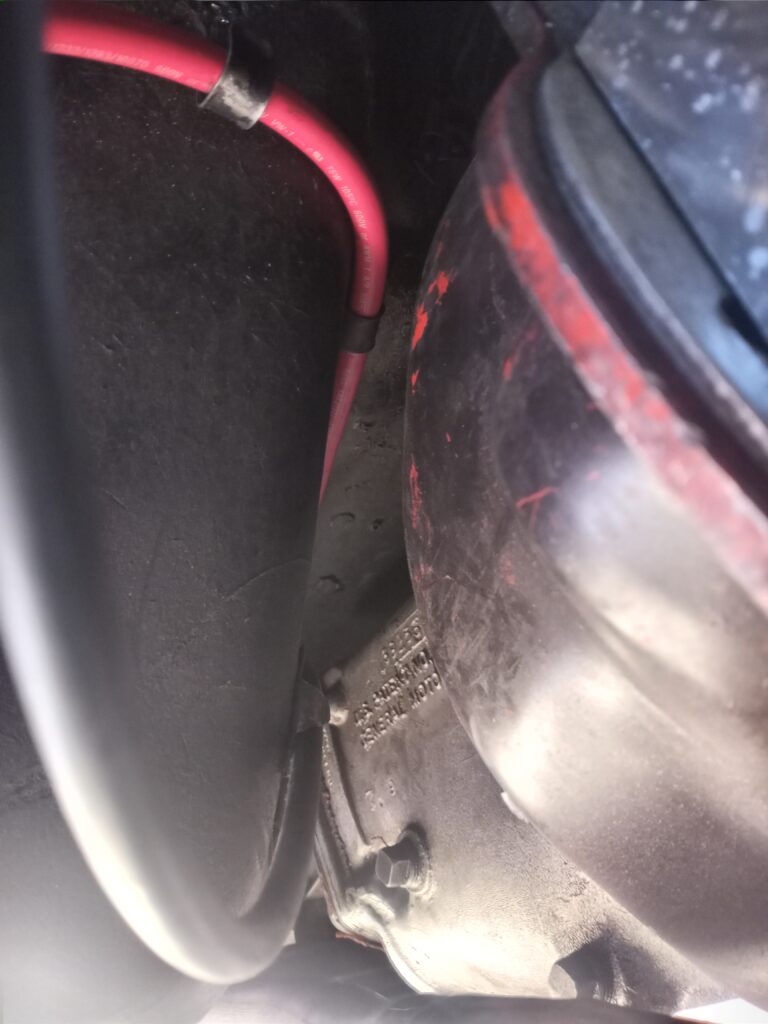
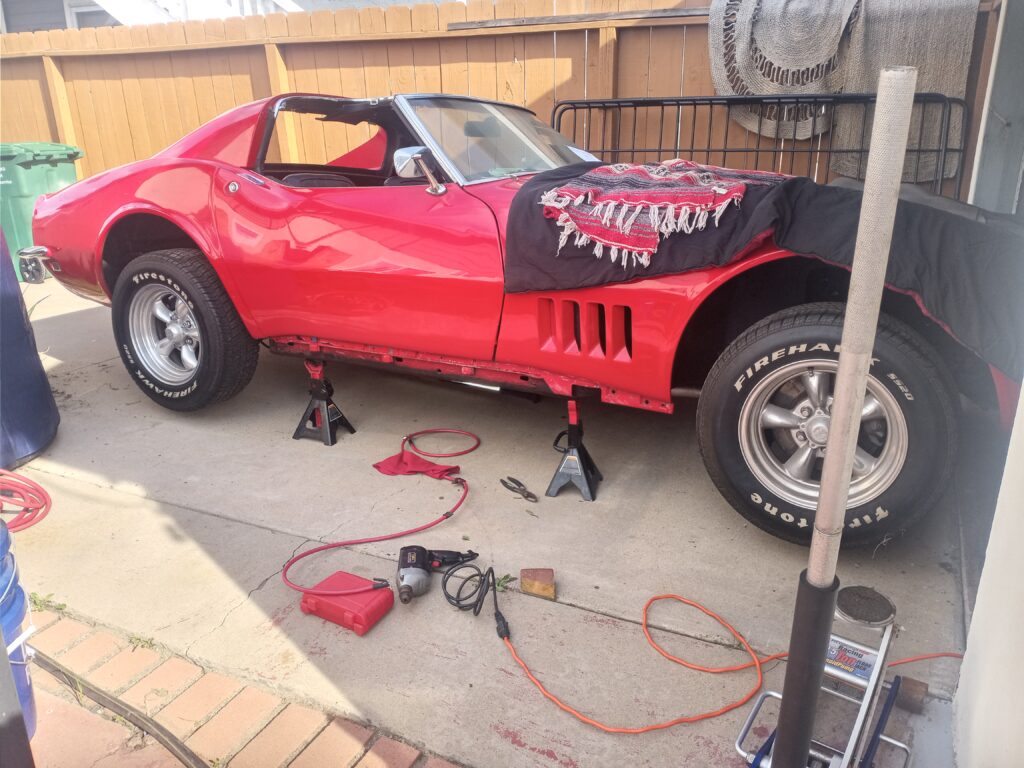
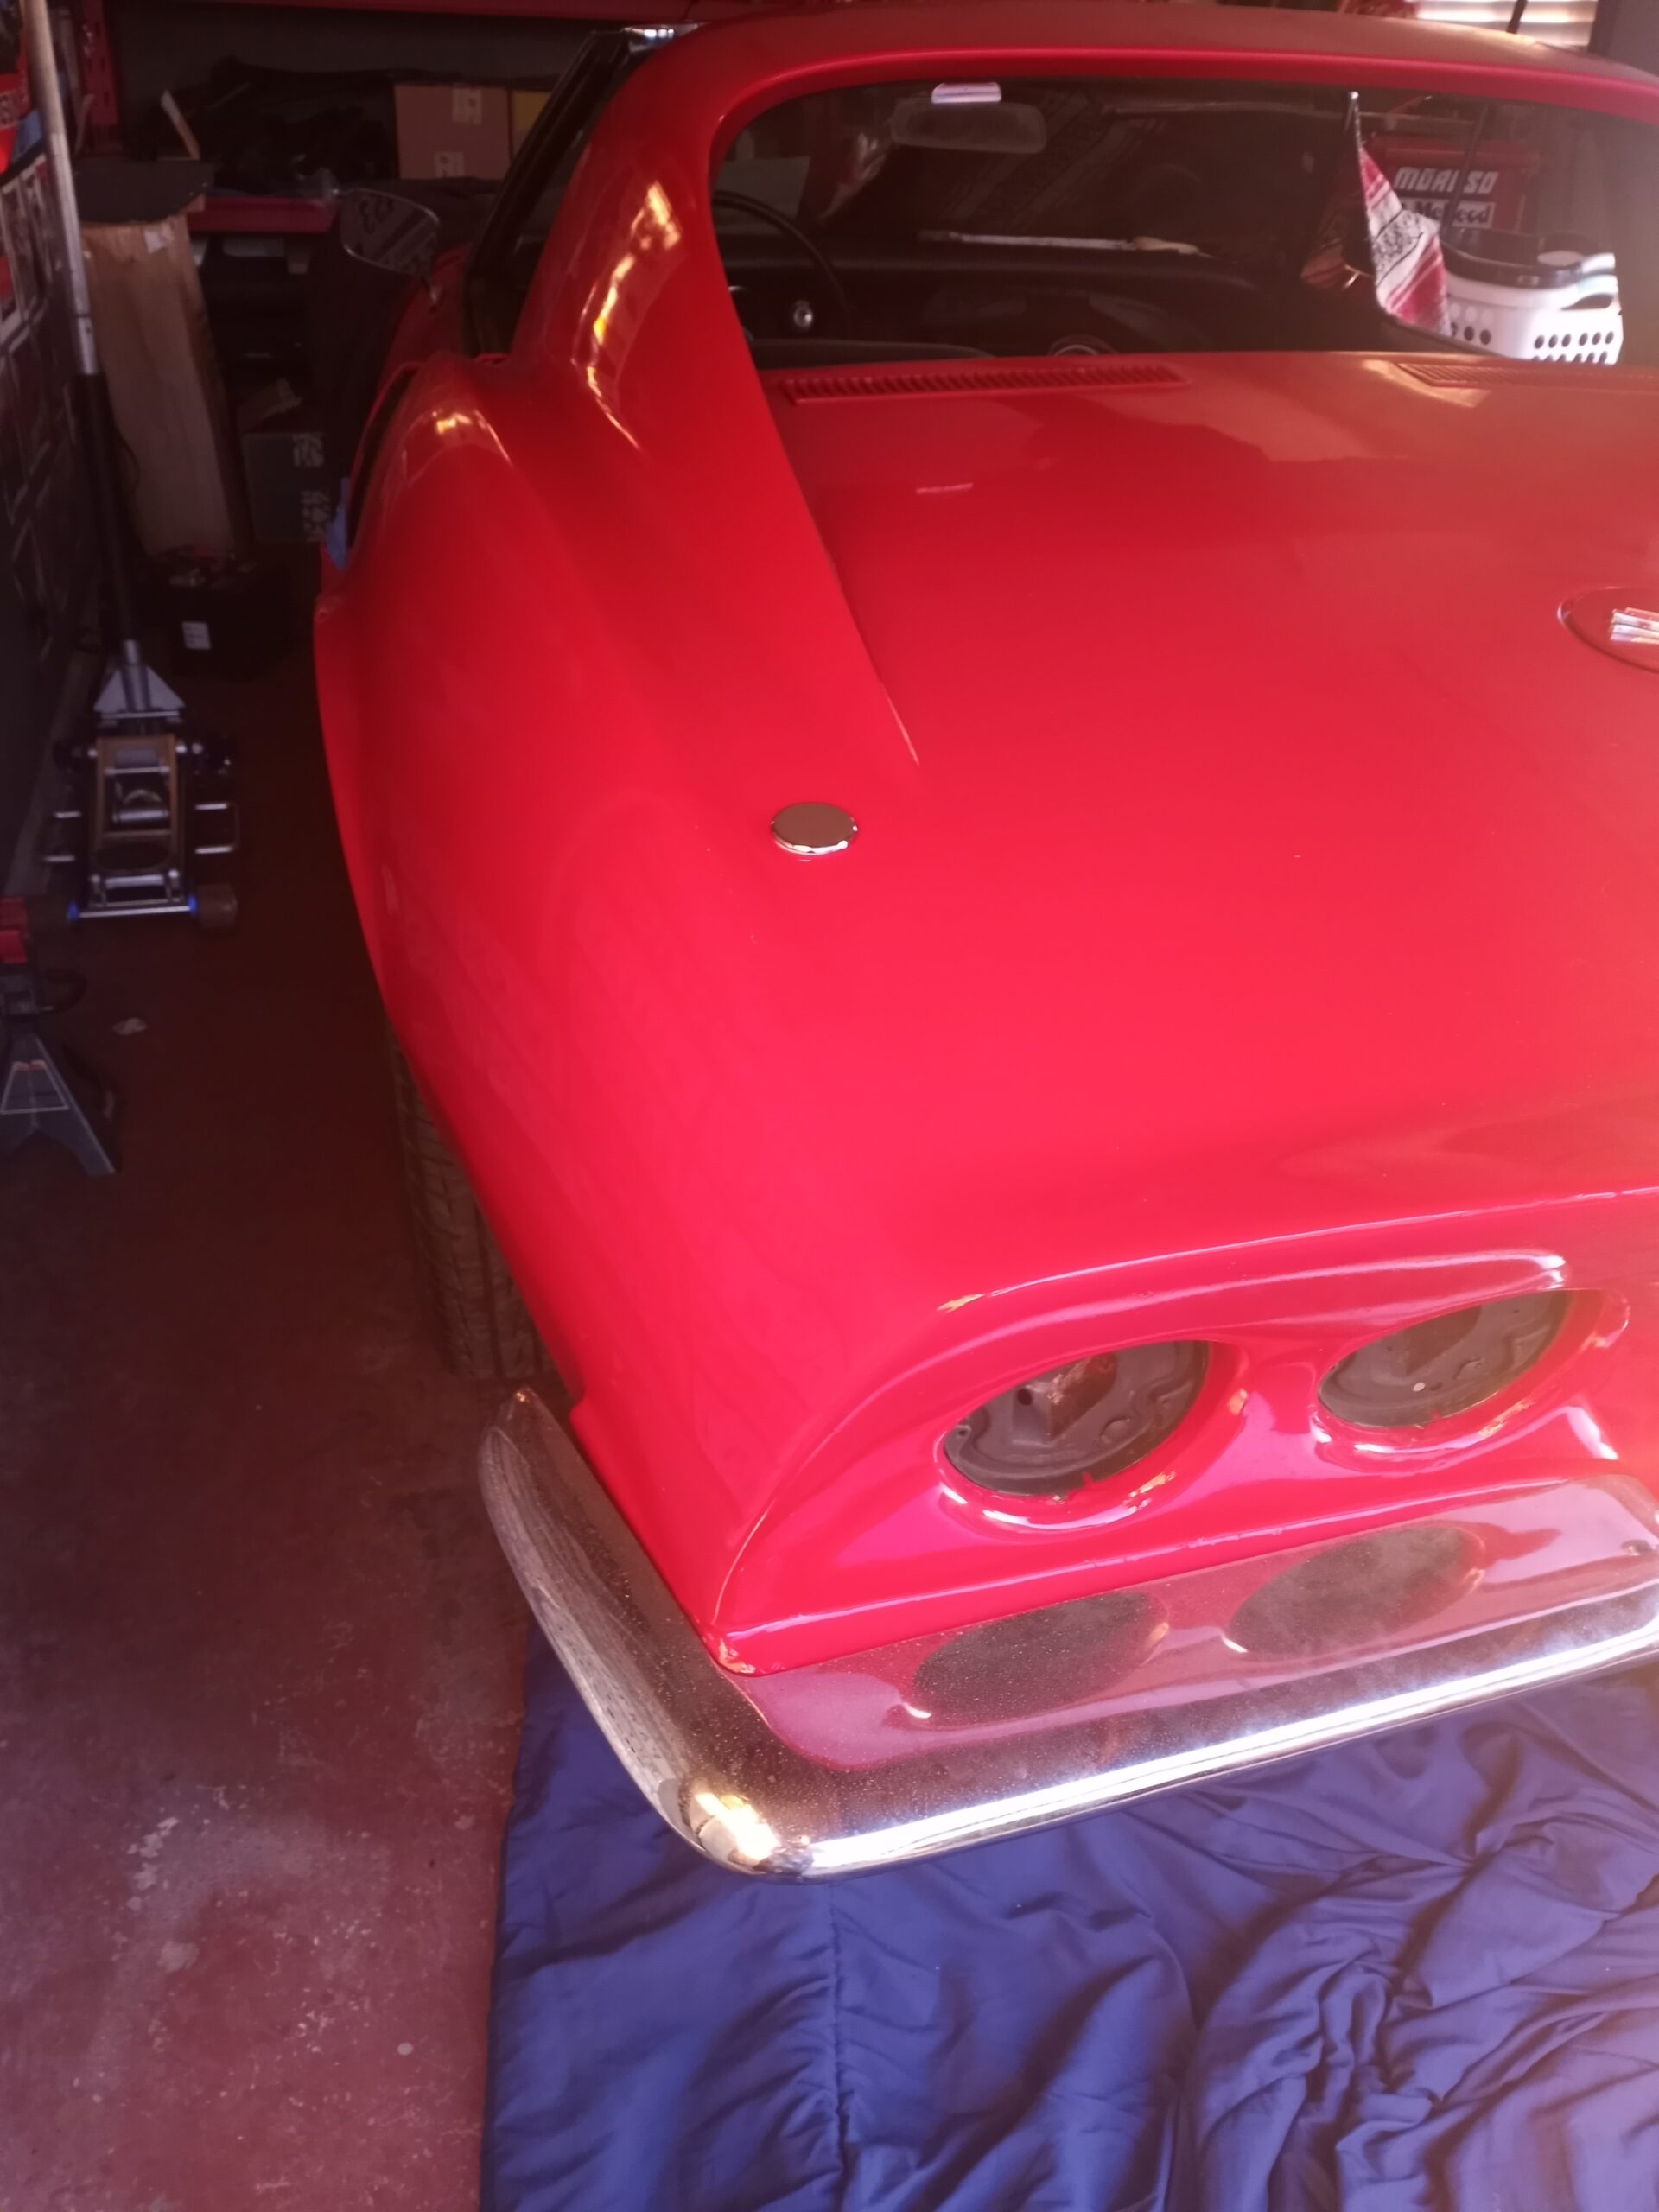
I decided to roll this out of the shop into the driveway so I could stretch out and get it jacked up on one side. Installation wasn’t quite as bad as removal. The new cables were more pliable, easier to manipulate. Took me a little over an hour. Gave me days of cramps in my forearms and hands.
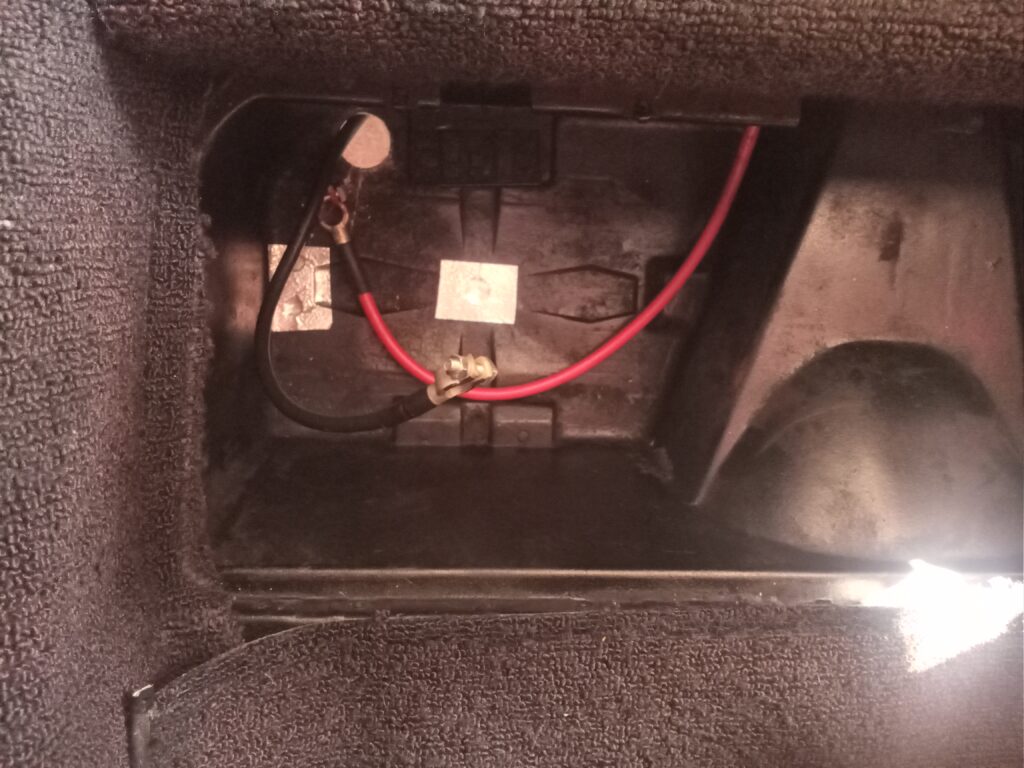
Success! Positive cable has extra room for the top post conversion. The ground cable bolts to the frame right below the battery box and should also have enough.